I don't have a knife-edge marking gauge only the pin type so I decided to try and make one following the method shown by Bob Rozaieski (https://brfinewoodworking.com). It will be easiest if I show the finished gauge first and then go on to describe the construction.
 |
| The finished gauge showing the fence, arm and knife-edge. |
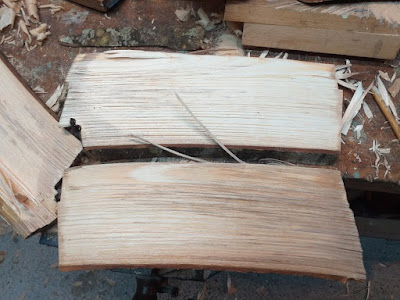
I used kiln dried beech for the fence and arm and then some hardwood that I obtained from a pallet originating in India so I'm not sure what it is but I liked the colour and hardness. First I used some stock (3 inches by 2 inches and 1 inch thick) and measured out for three fences to make three gauges.
 |
| Stock for the three fences |
I drilled the 5/8 inch diameter holes for the arms centred 1 inch from the edge. I drilled these from both sides and then drew tangents to chisel a square base as shown. The top of the fence was shaped by scribing a 1 inch semi-circle centred 1 inch from the top and then using a coping saw to remove the waste and then shape with a carving file.
 |
| First stage on one of the fences. The fences were kept together until the main part of the woodwork was completed just because it was easier to handle them in the vice. |
 |
| All the arm holes drilled and shaped ready to make mortices for the pegs |
The next stage was to make the mortices for the holding peg. This was 1/4 inch wide and narrowed from 1/2 inch to 3/8 inch (slope of about 6 degrees).The mortice needed to enter 1/16 th inch into the arm hole on the straight edge of the hole so as to get a tight grip between the fence and the arm.. I did this by first filling the arm hole with a section of beech to prevent tear-out when using the chisel and then drilling a 1/4 inch hole close to the bottom of the mortice (i.e. just above the straight edge). I then carefully chiselled out the mortice with a mortice chisel concentrating on the vertical side of the mortice and taking to about 3/8 inch wide. I then made the slope on the mortice working from the other side (1/2 inch width side). After removing the plug I made final adjustments to the mortice.
It is difficult to describe making the tightening peg. I used some waste Indian wood, darker than beech and just as hard and planed a 11 cm piece to get the correct thickness (1/4 inch) and maximum width (1./2 inch). These were made to fit rather than to exact measurements. The slope was then cut with a carving knife / wood file and the ends shaped as shown below.
 |
| Tightening peg about 11 cm long and shaped to fit the mortice in the arm. |
 |
| The fence, tightening pegs and knife edge. The knife edge was 1/4 inch wide and about 4 cm long and the holding peg about 4 cm long and 1/4 inch wide (sorry for the mixed units!1) |
The fence was finished by putting a 1 cm x 1 cm chamfer on the lower edge of the fence (on the side away from the cutter), and small (1 mm) chamfers on the edges of the fence.
The arm was about 9 1/2 inches long (Bob makes his 8 inches I think) and 5/8 inches square and was planed with the reference side (the flat side) at the bottom. The arm was planed and checked against the size of the hole. The curved side of the arm was shaped with a shoulder plane. This was done by marking the end-grains through the hole in the fence and then planing to the line being careful to check the fit and adjust by finally sanding to get a snug with no slack. This proved easier than I thought. I don't have a 5/8 th hollow plane to make it easier.
The cutting blade was made from a 1/4 inch strip of 001 steel about 4 cm long and shaped to a semi-circle cutting edge. This was held in place with another peg in a 1/4 inch sloped mortice made about 1 inch from the end of the arm. This was shaped as shown.
The other two gauges were made in the same way but not separated until the mortices were finished.
Difficulties: The construction is straight forward. Reference faces need to be good on the arm and fence so that all faces are at right angles and flat. The tightening pegs need to be made after the mortices and carved to fit. The mortice on the arm is tricky to make in particular to avoid tear-out when cutting the straight edge nearest the fence.
 |
| Three finished marking gauges for presents. |


